
I’m two treats in to the Friendsgiving Bakeathon! This post focuses on a specific request for my homemade “Whatchamacallit” bars.


Homemade Whatchamacallit Bars (“No Bake”)
The secret to this recipe is Smuckers Hot Caramel ice cream topping. They used to make this really thick, so that it didn’t pour without you heating it first. I wish it were still formulated this way, but they’re still delicious with the newer version, just results in a little messier to eat treat.
Ingredients
- 6 cups crisp rice cereal
- 1 cup light brown sugar
- 1 cup light corn syrup
- 1 cup peanut butter
- 1 (12 oz) jar of Hot Caramel topping
- 1 (10 -12 oz) bag of semi-sweet or dark chocolate chips. [I used 60% Cacao Ghiradelli chips)
- 1 tablespoon vegetable shortening (such as Crisco), optional.
Directions
Prepare either a jelly roll pan (for thinner bars) or a 13 x 9 rectangular cake pan (for thicker bars) by lining with a non-stick foil, or spray regular foil with non-stick spray (such as Pam). Lining the pan with foil will allow you to cut cooled bars, and clean up, much easier.
In a medium saucepan, heat brown sugar, corn syrup, and peanut butter over medium heat, stirring until the brown sugar is dissolved and smooth.
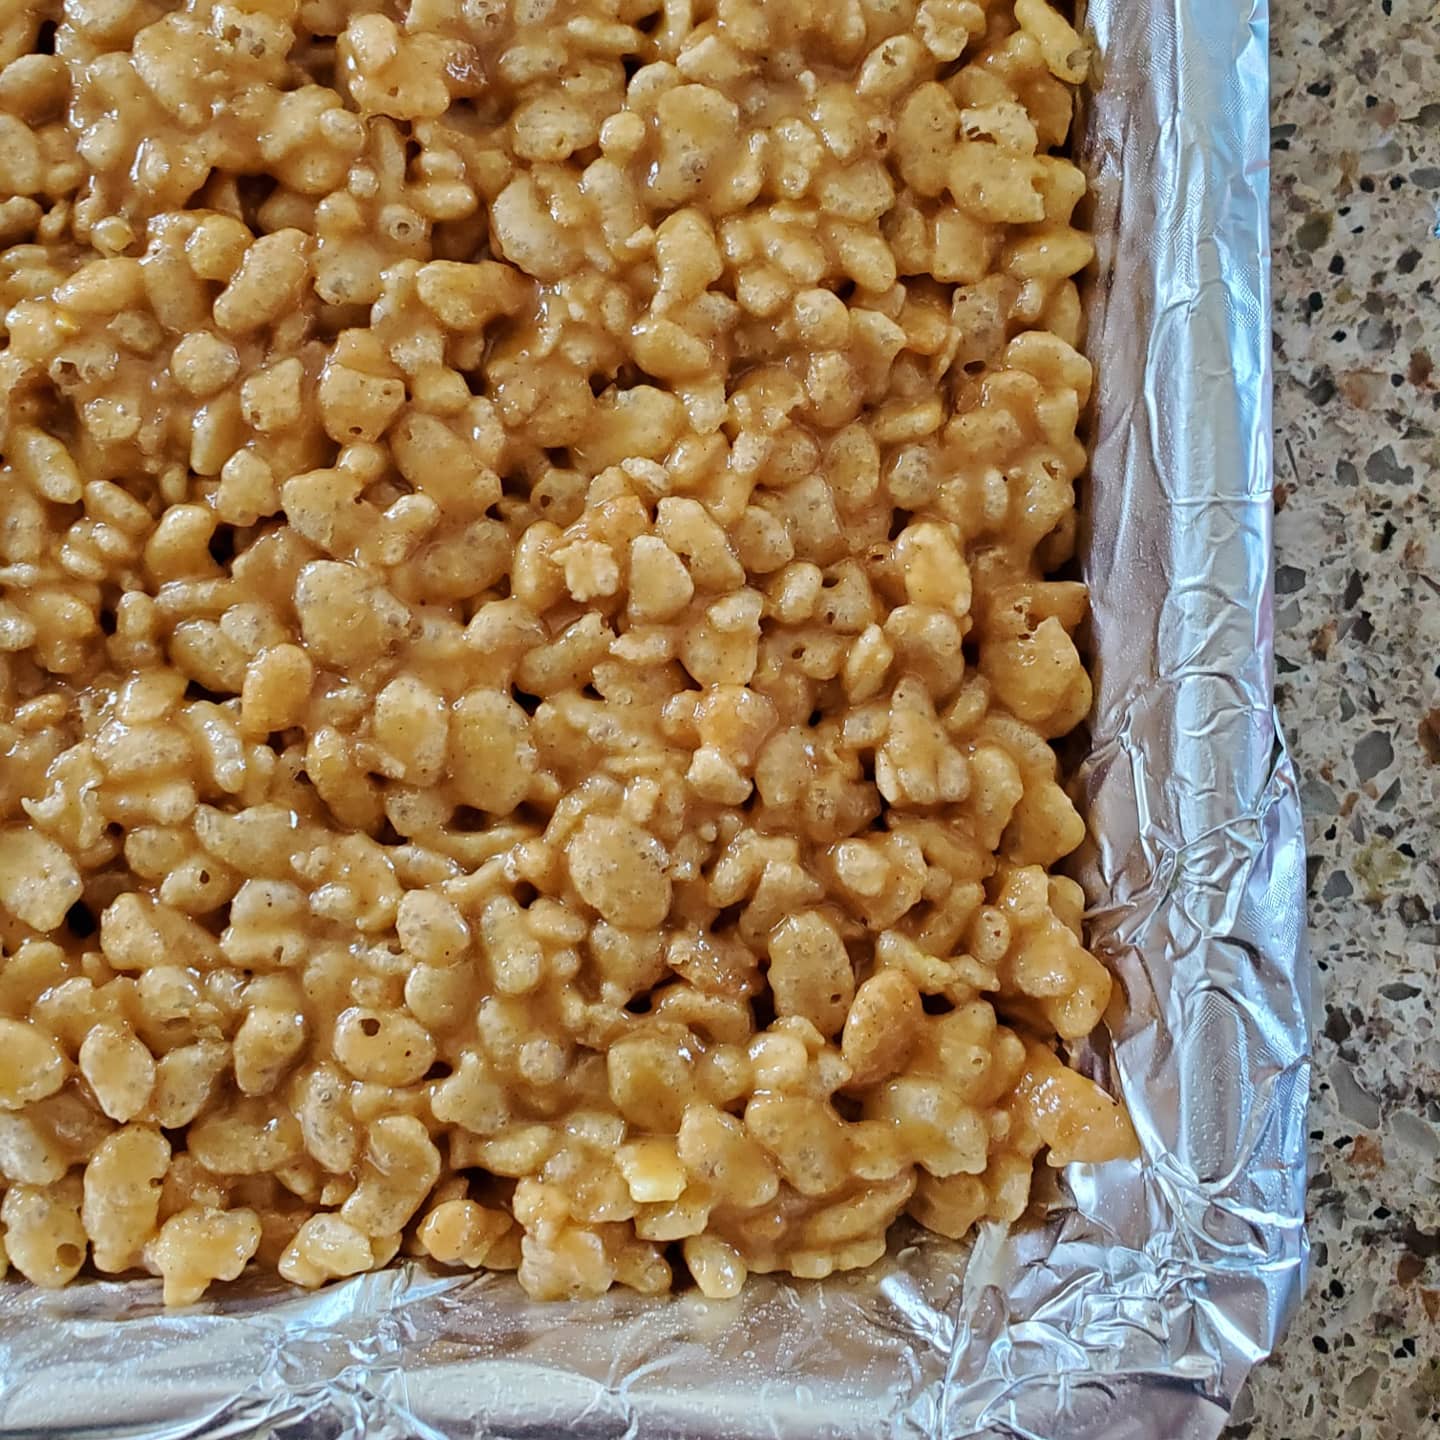
In a large bowl and while still warm, pour the sugar/peanut butter mixture over the rice cereal, stirring to evenly coat the cereal.
Pour the coated cereal into the prepared pan and press firmly into the pan with your fingers or bottom of a spatula – spray your hands or utensil with cooking spray and the cereal won’t stick! Press firmly. More so than your traditional rice krispy treat – you really want a firm bar and a uniform, level top to the bars at this point.
Using an offset spatula, spread the entire jar of caramel sauce over the the top of the bars. A thin layer is what you’re trying to achieve – if you’re using a cake pan, you may not want to use the whole jar of caramel (as you’ll have less surface area to cover). Refrigerate to firm up the caramel while you prepare the chocolate.
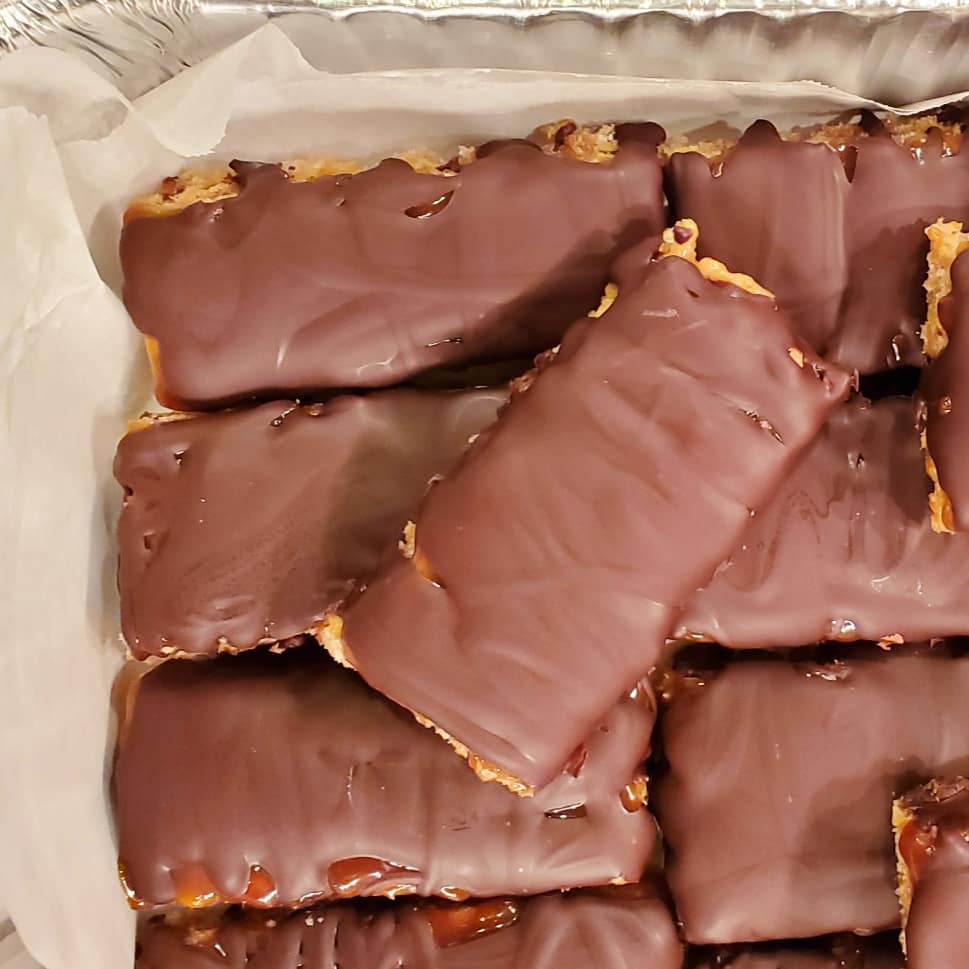
Melt the chocolate chips in either a double boiler or microwave. If you’re new to this, check out this site for info. Evenly pour/spread melted chocolate over the top of the cooled caramel-topped bars. Try to pour the chocolate evenly across the bars, as the caramel and melted chocolate will mix together and we’re trying to avoid that.
Let the bars cool and the chocolate harden before handling. Keep covered either on the counter or fridge, up to you – but they won’t last long either way!
To Cut or Not To Cut
Do you cut the bars first, then coat in chocolate? Or cut the bars after they’re topped with chocolate? There’s no wrong answer here. The easiest method is to coat with chocolate first, while still in the pan, then cut once cooled. Keep in mind when cutting the bars after they cool, the top of the chocolate will crack a bit – resulting a messier bar. Cutting the bars before topping with melted chocolate means you’ll go through more melted chocolate, and results in a “prettier” bar, but it’s certainly more effort.
I add a tablespoon of vegetable shortening to my chocolate when heating it, to “thin” it out a bit – but this is not necessary, especially if you want to just coat the tops of the bars while in the pan as opposed to cutting them and then coating them with chocolate.
To cut the bars more easily, lift them out of the pan using the foil, then use a long knife and push down in a slow, steady motion. Rinse off the knife with hot water to remove caramel build up as you go along, and soon you’ll end up with LOTS of homemade whatchamacallit bars!

Leave a comment