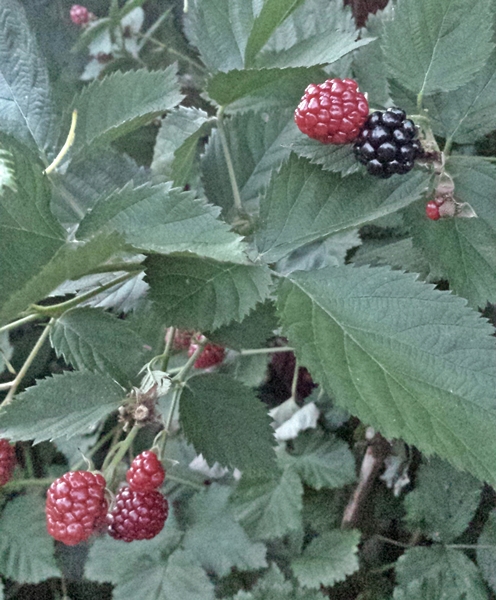
I have a blackberry shrub that’s doing great this summer, so after a couple of harvests I’ve got enough to make a pie. I love to share my treats – and with a berry pie, that’s not easy to do. Solution: make mini pies.
I used refrigerated pie crust because I was kind of lazy*. Of course if you’re not lazy, feel free to whip up a batch of your own pie crust.
*I generally dislike making pie crusts.
Special tools for this one:
- Minute Tapioca – I use this in all my fruit pies and it really helps keep them from being runny.
- A “cutter” for your mini crusts. I used a circular storage container, but any large glass or small bowl will do.
- A muffin pan. You’ll only use 6-8 of the cups.
- A good sense of humor when a few of your mini pies end in Disaster!
I’d never let your recipe end in disaster, would I?
Part One: Prep the filling.
It needs to sit for about 15 minutes, so do this first and you’ll be ready to fill once the crust is prepped.
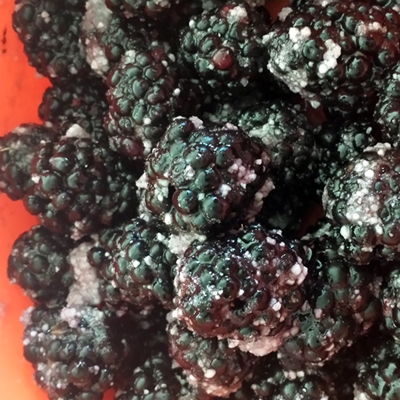
- 2-3 cups fresh blackberries (depends on the size of your berries, right?)
- 1/2 cup white granulated sugar
- 2 tablespoons Kraft Minute Tapioca
- 1 teaspoon lemon juice
Rise the blackberries, which should be ripe but not mushy. In a large bowl, gently mix the blackberries, sugar, tapioca, and lemon juice until the berries are coated in a roughly even fashion, set aside. Any berry juice will start to thicken thanks to the tapioca:
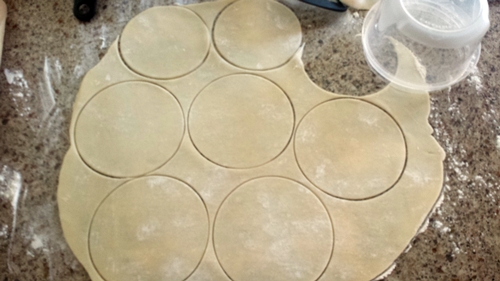
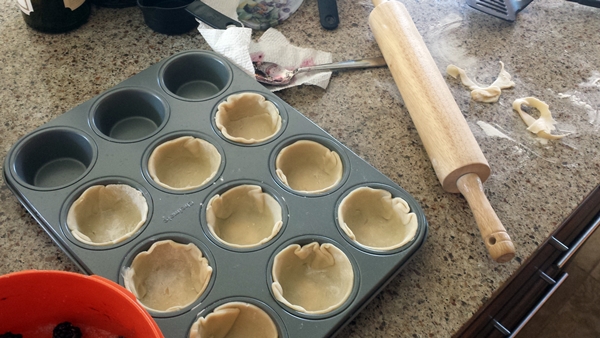
Part Two: Roll out the crust…
…on a floured surface – I used a rolling pin on a store bought crust, but don’t make the crust too thin, or you’ll have a small problem getting them out of the pan. (See Disaster! below). Cut your mini crusts like they’re Christmas cookies. I was able to re-roll the crust just fine once, as long as I re-floured the surface. I used a simple storage container and it worked fairly well:
Gently lift the mini crusts (I used my thinnest spatula to help with this) and place them in a lightly floured muffin cup. Gently (again!) pat the crusts into the little muffin cups. Too heavy a hand, and you’ll stretch the dough too thin (again, Disaster!)
Part 3: Make the streusel.
Mix the following in a small bowl until crumbly. It’s ok to use your fingers for this part!
- 3 tablespoons butter, straight out of the fridge
- 1/4 cup light brown sugar, packed
- 3 tablespoons all-purpose flour
- dash of cinnamon, to taste
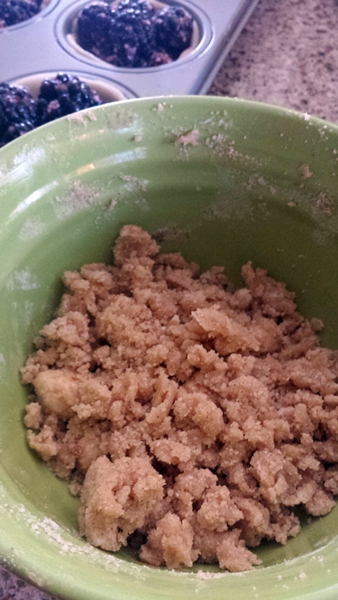
Squish, stir, mash the ingredients until you get little pea-sized chunks of sugary butter, that stick together when pinched, but fall apart if stirred.
This is a very basic streusel. I often add a couple tablespoons of oatmeal, walnuts, pecans, or other interesting additions depending on my mood. As long as you have a nice butter/sugar/flour ratio, you’ll end up with streusel that sticks to the pie (doesn’t melt completely into it), but remains sweet and buttery.
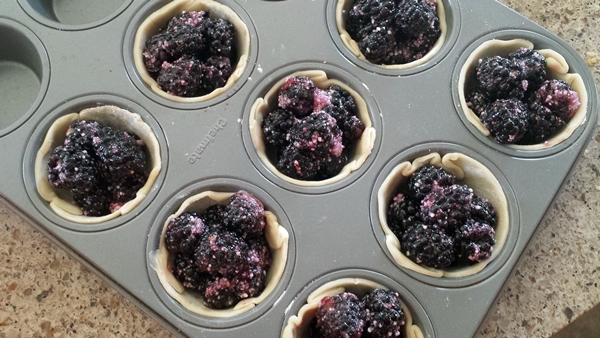
Part 4: Assemble the mini pies!
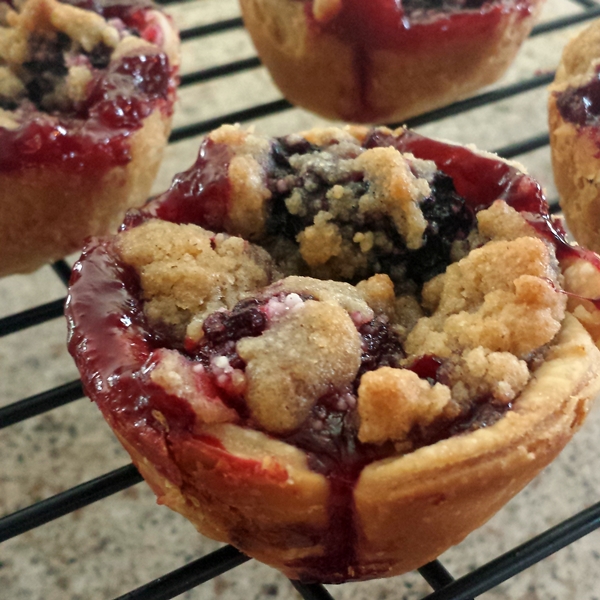
Add the berry mixture and top with streusel. If you don’t want to end in Disaster! then I recommend not overfilling with berries, no matter how amazing the little uncooked pies may look before you bake them:
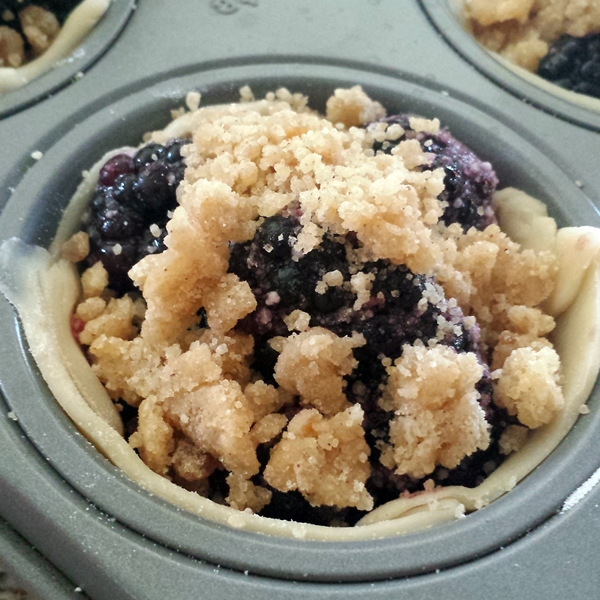
Bake at 400ºF for 25-30 minutes, until the pie is bubbly and the crust is golden brown.
Part 5: Disaster! (Getting what you didn’t expect)
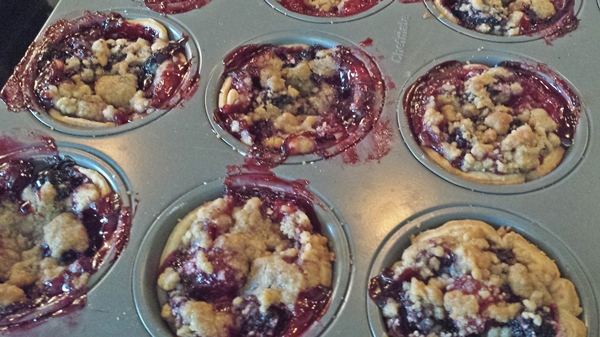
So the berries leaked all over the place. I thought they would bake down into the crust, but I just simply overfilled them. If this disaster happens to you, act quickly.
- Don’t panic. Ugly pie tastes delicious.
- Carefully scrape as much filling as you can back into the pie, while it’s still warm.
- Again while still warm, carefully take a butter knife, or similar, and slide around the edges of the pies to keep the filling from setting , which would stick the pies to the pan.
- Wipe the knife often, to keep the “clean” crusts from getting gooey, which defeats the whole purpose, right?
With your quick action, and a little luck, most of your mini pies will “spin” around in tin, basically telling you they’re ready to be popped out and set onto a cooling rack. UNLESS you stretched the crust too thin, and the crusts cracked/leaked. Then you’ll need to follow up with plan B.

Plan B is for the mini pies that didn’t want to come out in one piece. For those, I scooped out as much of the crust as I could, and quickly transferred them into cupcake liners. I reshaped them into their little pie forms. Once they were cool, they were fine and the liners could be removed.
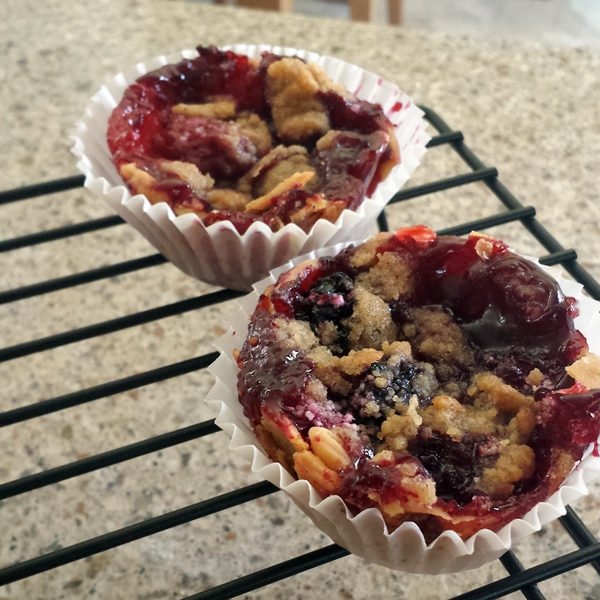
I enjoyed these pies with vanilla ice cream and/or whipped cream.
I guess the lesson this time is: Don’t let a messy presentation ruin a good dessert.
(I’m already thinking of mini pumpkin pies…)

Leave a comment